Why Cold Showers at Dawn Actually WorkThe Perfect Pour-Over: A Coffee Nerd’s Guide

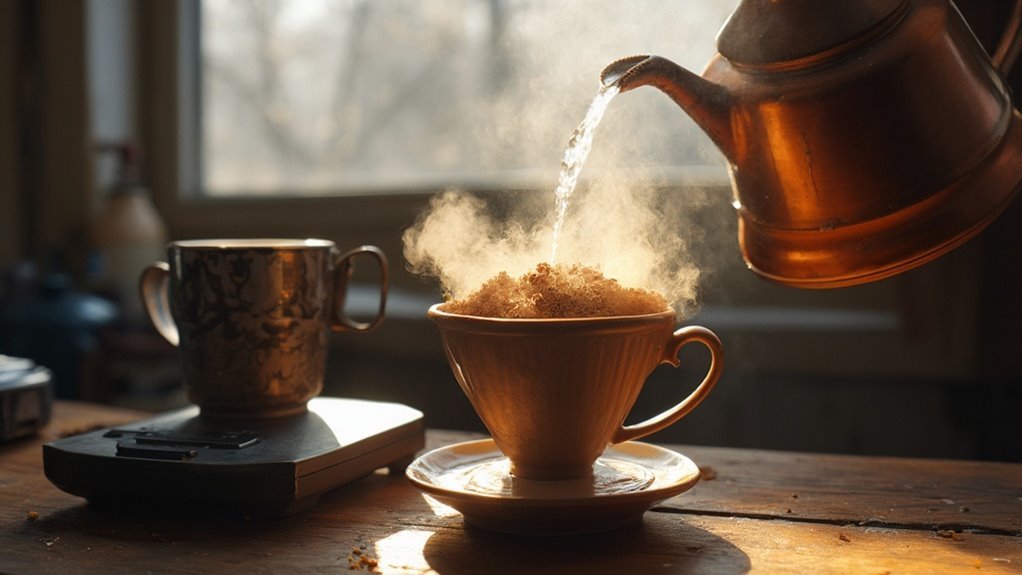
I've discovered that crafting the perfect pour-over coffee comes down to five key elements: proper equipment, fresh beans, precise grinding, water quality, and pouring technique. You'll need a quality dripper, gooseneck kettle, digital scale, thermometer, and burr grinder to start. Select single-origin beans roasted within two weeks, grind them to medium-fine consistency, and use filtered water heated to 195-205°F. The magic happens in the pour – start with a 30-second bloom, then maintain gentle, concentric circles with your kettle. Master these fundamentals, and you'll unlock a world of complex flavors and aromas in your morning cup.
Essential Equipment for Pour-Over Success
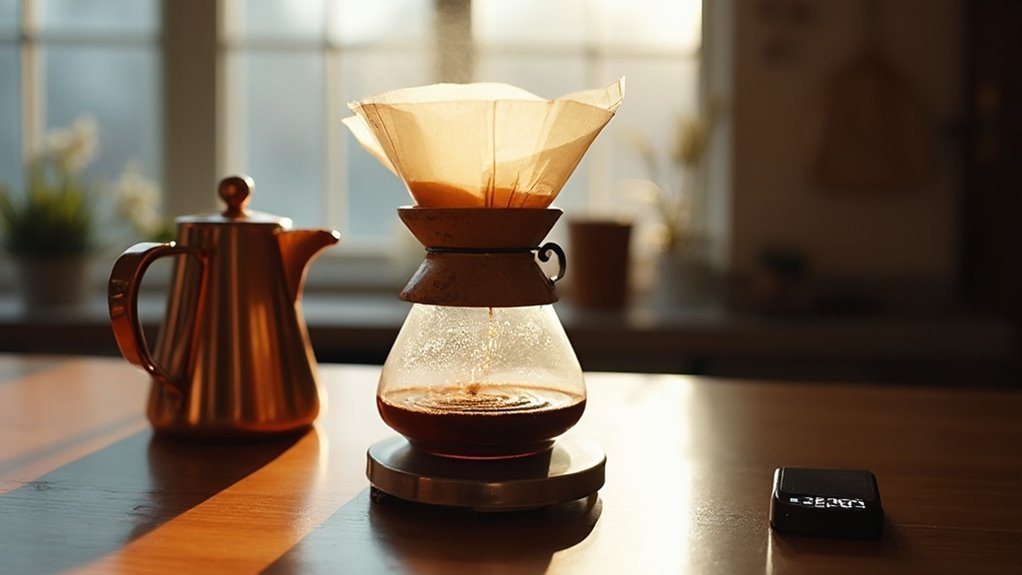
Precision equipment elevates a simple pour-over into a transcendent coffee experience. I've found that starting with a high-quality dripper is non-negotiable – whether you prefer ceramic, glass, or even filter paperless options like metal mesh filters. You'll need a gooseneck kettle for optimal control; its narrow spout allows for precise water flow and even extraction.
A digital scale accurate to 0.1 grams helps you maintain consistent coffee-to-water ratios, while a thermometer ensures your water hits the sweet spot between 195-205°F. Though automated pourover devices are gaining popularity, I still recommend mastering manual brewing first to understand the fundamentals.
Don't overlook the importance of your grinder – it's arguably the most crucial piece of equipment. I insist on a burr grinder rather than a blade grinder, as it produces uniform grounds essential for even extraction. While there are many quality options on the market, I've found that ceramic burrs offer excellent consistency and longevity. Your grinder should allow you to adjust grind size precisely, letting you dial in that perfect cup according to your coffee's origin and roast level.
Choosing Your Coffee Beans
With your equipment foundation set, let's focus on the heart of any great pour-over: the beans. I've found that single-origin beans often provide the clearest, most distinct flavor profiles, making them ideal for pour-over brewing. I recommend starting with beans from Ethiopia or Colombia, as they'll showcase how bean origin directly impacts your cup's taste.
When selecting beans, I always check the roast date – anything within the past two weeks is ideal. The roast profile matters significantly: light to medium roasts typically work best for pour-over, as they preserve the bean's natural characteristics. I've discovered that darker roasts can overwhelm the nuanced flavors that pour-over methods excel at extracting.
Look for beans that list specific flavor notes and processing methods on their packaging. I've had exceptional results with washed-process beans for their clean, bright profiles. If you're just starting out, I suggest avoiding blends until you've developed a solid understanding of how different bean origins taste. Remember, fresh-ground beans make all the difference – I won't use pre-ground coffee for pour-over, as it significantly diminishes the final result.
The Perfect Grind
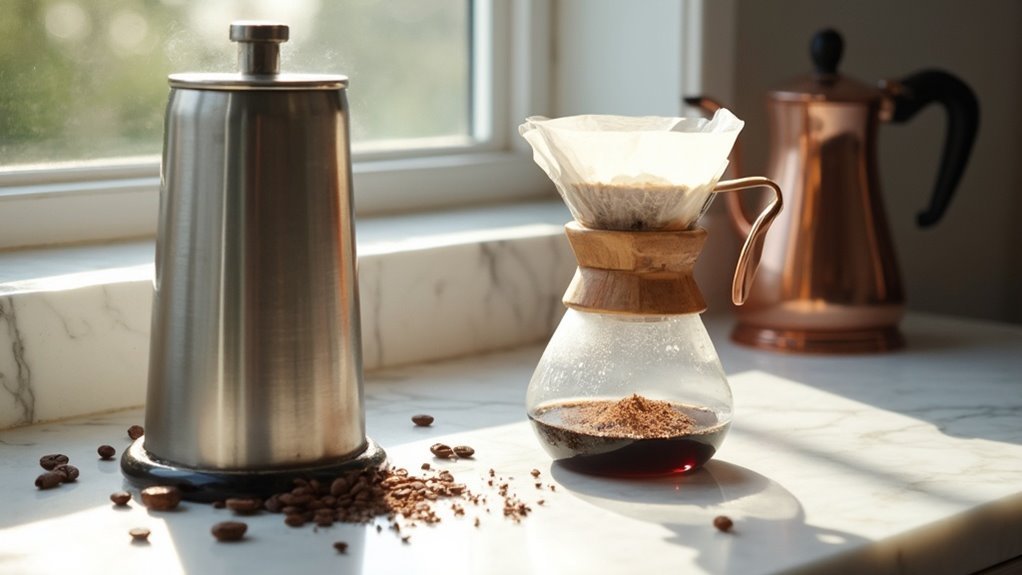
Getting your grind size right is the most crucial factor for pour-over success. I've found that pour-over coffee demands a medium-fine grind, slightly coarser than espresso but finer than drip coffee. The ideal grind size should resemble sea salt – if you're seeing powder, you've gone too fine; if it looks like coarse sand, you've gone too coarse.
I recommend investing in a quality burr grinder to achieve consistent grind consistency. Blade grinders create uneven particles that lead to both under and over-extraction in the same brew. When I switched to a burr grinder, I immediately noticed more balanced flavors and eliminated bitter notes from my coffee.
You'll know you've nailed the perfect grind when your pour-over takes about 3-4 minutes to complete. If it's running through faster, make your grind finer; if it's taking longer, go coarser. I suggest keeping a coffee journal to track your adjustments – it's the best way to dial in your ideal grind size for different coffee beans and find your sweet spot.
Water Temperature and Quality
Water temperature and quality invariably make or break your pour-over coffee. I've found that using water between 195-205°F (90-96°C) extracts the optimal flavors from your beans. When water's too hot, you'll end up with bitter, over-extracted coffee. Too cool, and you'll get a flat, under-extracted brew.
Don't make the mistake of using tap water without considering its mineral content. I recommend using filtered water with a balanced mineral profile – around 150 ppm total dissolved solids. Too many minerals will mute your coffee's subtle notes, while distilled water lacks the essential minerals needed for proper extraction. I use a specialized coffee water filter that maintains ideal mineral levels while removing chlorine and other unwanted elements.
Water pressure matters too, especially during the bloom phase. I maintain a steady, gentle stream by controlling my kettle's height and flow rate. Start with just enough water pressure to saturate the grounds evenly, then adjust your pour pattern to maintain a consistent water level above the coffee bed. This ensures even extraction and prevents channeling.
Mastering Your Pouring Technique
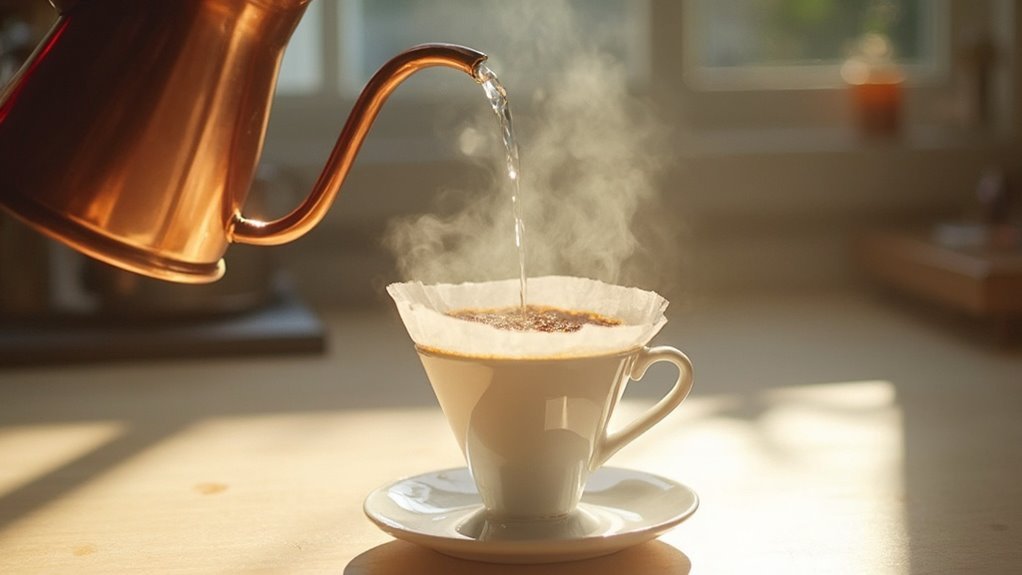
The perfect pour starts with a steady hand and deliberate movements. I've found that mastering the technique requires understanding the interplay between water flow and coffee bed disturbance. When I pour, I maintain a consistent water flow of about 6-8 grams per second, which helps extract flavors evenly without overwhelming the grounds.
I start at the center of the coffee bed and work my way outward in concentric circles, keeping my kettle spout about an inch above the filter. This height is crucial – too high creates unwanted agitation, while too low disturbs the coffee bed excessively. I've learned to minimize agitation by keeping my circular motions gentle and methodical.
The key is breaking your pour into phases. I begin with a 30-second bloom using double the coffee weight in water, then proceed with steady pulses that maintain the water level. I never let the coffee bed run dry between pours, as this can lead to channeling and uneven extraction. By controlling these variables, I consistently achieve a clean, well-extracted cup that highlights the coffee's complex flavor profile.
Timing Your Brew
Every step in pour-over brewing demands precise timing to achieve optimal extraction. I've found that breaking down your brewing process consistency into distinct phases helps create the perfect cup every time. Let me show you how to nail the timing.
Start by wetting your filter and warming your vessel – this takes 30 seconds. When you begin the actual brew, pour just enough water (about twice the coffee's weight) to saturate the grounds and create that crucial bloom. The optimal bloom time is 30-45 seconds; you'll see the coffee expand and release CO2 bubbles. This step is non-negotiable for flavor development.
After the bloom, I pour in concentric circles, maintaining a steady flow. Your total brew time should hit between 2:30 and 3:30, depending on your grind size and coffee amount. I use a digital timer to track each phase, ensuring I don't over or under-extract. If your brew runs too long, adjust your grind coarser; if it's too quick, go finer. It's a simple adjustment that makes a significant difference in your final cup.


